With the completion of the first phase of our patio and fire-pit area last spring, I went in search of finding a suitable table to add to the area. We visited many outdoor furniture stores and I searched endlessly on-line, not knowing exactly what it was I was searching for.
 I felt like too many of the table sets looked modern and would seem out-of-place with the barn as the backdrop. Finally, I stumbled across a table that caught my eye on the Restoration Hardware website; it was a big chunky farm table made from 100-year-old salvaged elm doors, with a hefty price tag of around $3,500.00…and that was on sale.
I showed it to Jesse and after he studied it a bit, he told me he thought he could make something similar. He forwarded the picture to his dad, who is a skilled wood craftsman, and they discussed how to tackle the project.
 When we first purchased the farm twelve years ago, an old farmhouse stood on the property. Before tearing it down to build our current house, Jesse and his dad salvaged materials from the old structure; bricks, wood flooring, baseboard and trim, doors, and floor stringers made from rough sawed wood. We used some of the wood flooring in our new home and stored the rest of the salvaged wood in the barn for some unknown future use. Jesse thought he could use some of the salvaged elm floor stringers to make the farm table.
We planned the project so that our oldest son would be home on leave from West Point. He is very interested in woodworking and we thought it would be a great learning opportunity for him. We also coordinated with Jesse’s dad to make sure he could come down to advise and assist.

After digging the boards out of the loft of the barn, the first task was to remove all the nails. The next challenge was to plane the boards down to both make them smooth and to create some uniformity in their thickness.

Basing the table measurements off the dimensions of the Restoration Hardware table, they started to assemble the table and square up the ends.
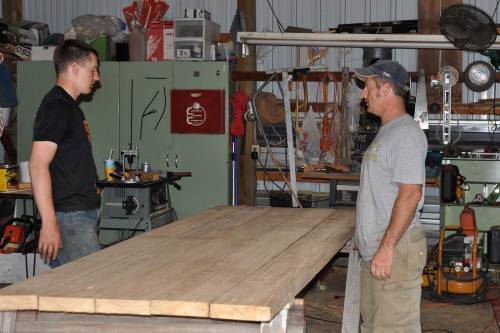 Once the boards for the table top were planed and cut to the proper length it was time to work on the structure that would hold everything together. The guys decided that 1 1/2 in. angle iron would provide the proper strength and be consistent with the rugged appearance. Our son started to measure, mark and drill the holes in the angle iron that the carriage bolts would be bolted through.
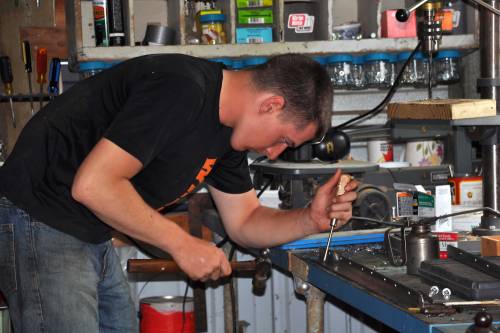
With the angle iron prepared it was time to square up the table and begin to drill the holes and mount the angle iron. Measure twice and cut once 🙂
There was quite a bit of discussion on how to design and build the legs for the table. Jesse’s dad does a good job of explaining what they are doing and why. Jesse and his dad have done so many projects together over the years that they usually quickly understand where they are going, so bringing our oldest son up to speed is an important step.
They clamped the boards for the legs together and drilled holes to attach the angle iron that will connect the legs to the table top. To better drill straight holes and minimize errors, they modified a jig.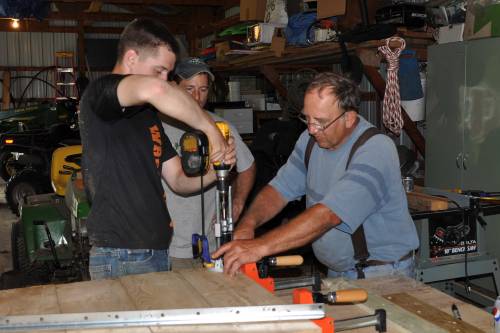
Without too much trouble, they attached the legs and marked the holes for the table top through the angle iron supports.
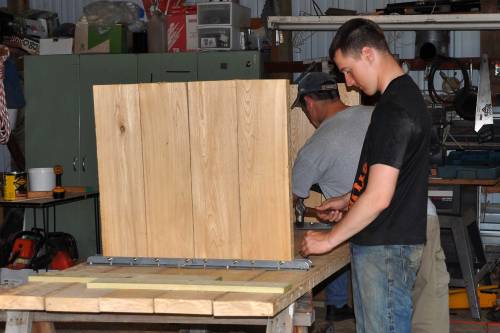
The guys were surprised how heavy the table was now that it was completely assembled. They turned the table over and stepped back to admire their handiwork. Things were looking pretty good.

We have had some outside furniture over the years and have tried many stains and varnishes but they have never held up to the elements. To avoid the peeling and to keep a rustic look, we decided to use a natural oil sealant. The old dry lumber really soaked up the oil and highlighted the grain nicely. We will need to apply a fresh coat each spring, but this approach should avoid having to sand and reapply varnish every 2-3 years.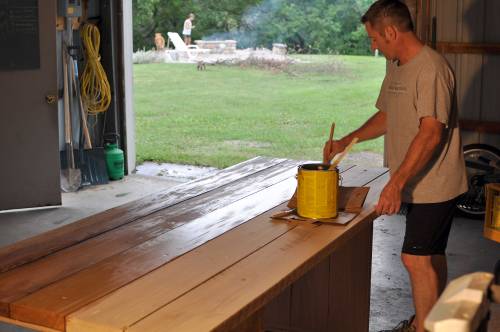
I used a small art brush to get the oil in between the boards. 
Here is the finished product as the second coat of oil is still soaking in and drying off. The shine goes away and a nice natural feeling surface remains. 
And finally…our new farm table! Total cost of the table was around $200 for the angle iron and carriage bolts. Much better than $3,500, don’t you agree?
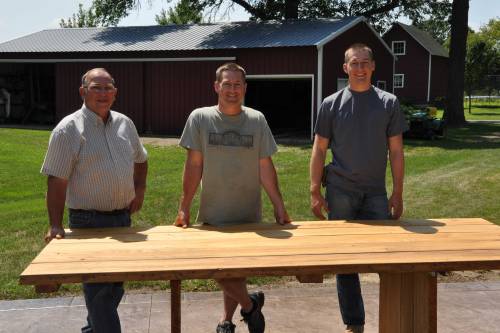 I absolutely LOVE our new table! The price was right and I think it fits perfectly with our farm setting.
Most importantly though, I love it because it was made by these three special guys working together.

Nice farm table! I build custom tables (theiveycourt.com) and that is a very nice design/ build. Very classy, and a great use of salvaged materials!
I’m really enjoying your blog.
Thanks for stopping by and especially for your kind comments about the table! Coming from someone in the business makes it even more meaningful. 🙂